
PUMPA - SMART LEARNING
எங்கள் ஆசிரியர்களுடன் 1-ஆன்-1 ஆலோசனை நேரத்தைப் பெறுங்கள். டாப்பர் ஆவதற்கு நாங்கள் பயிற்சி அளிப்போம்
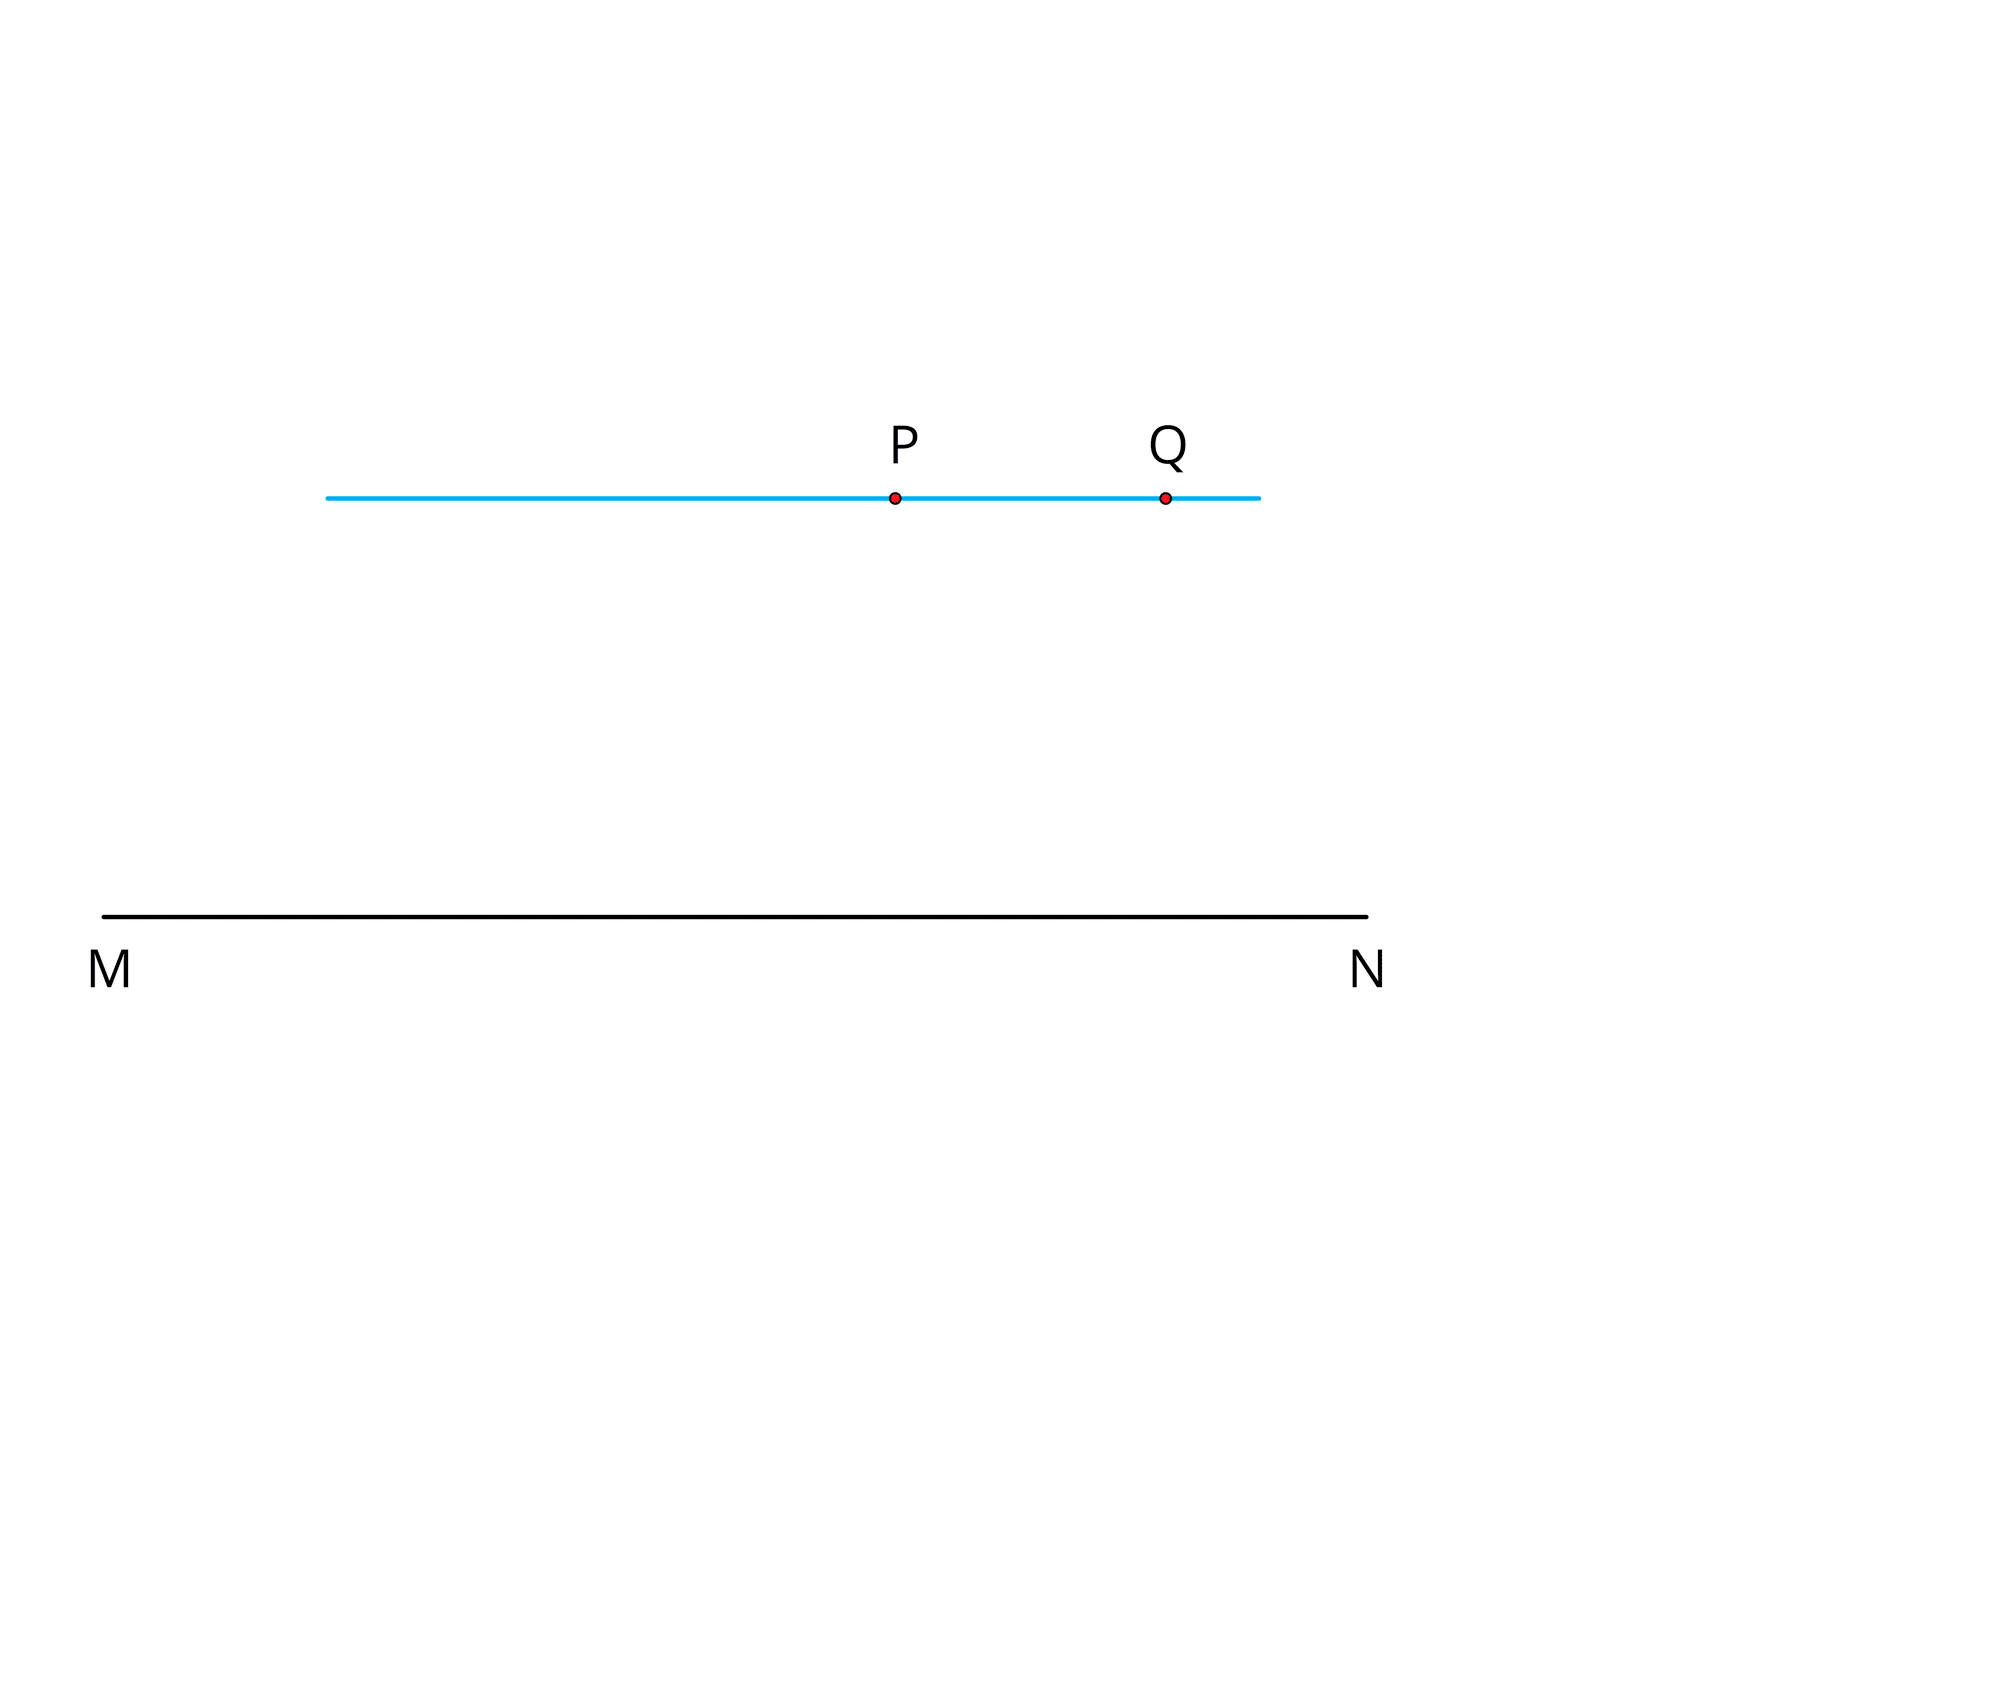
Book Free DemoDraw a line MN and mark a point P above it. Through P draw a line parallel to MN.
Step 1: Draw a line MN.
Step 2: Mark a point P anywhere above the line MN.
Step 3: Place the set square below the line MNin such a way that one of the arms that form a right angle lies along MN. Place the scale along the other arm of the set square.
Step 4: Fix the scale stably. Glide the set square along the arm of the scale until the other edge of the set square reaches the point P.
Step 5: Now draw a line through P and extend it to Q.
Step 6: The line PQ is parallel to the line MN. That is, PQ \parallel MN.
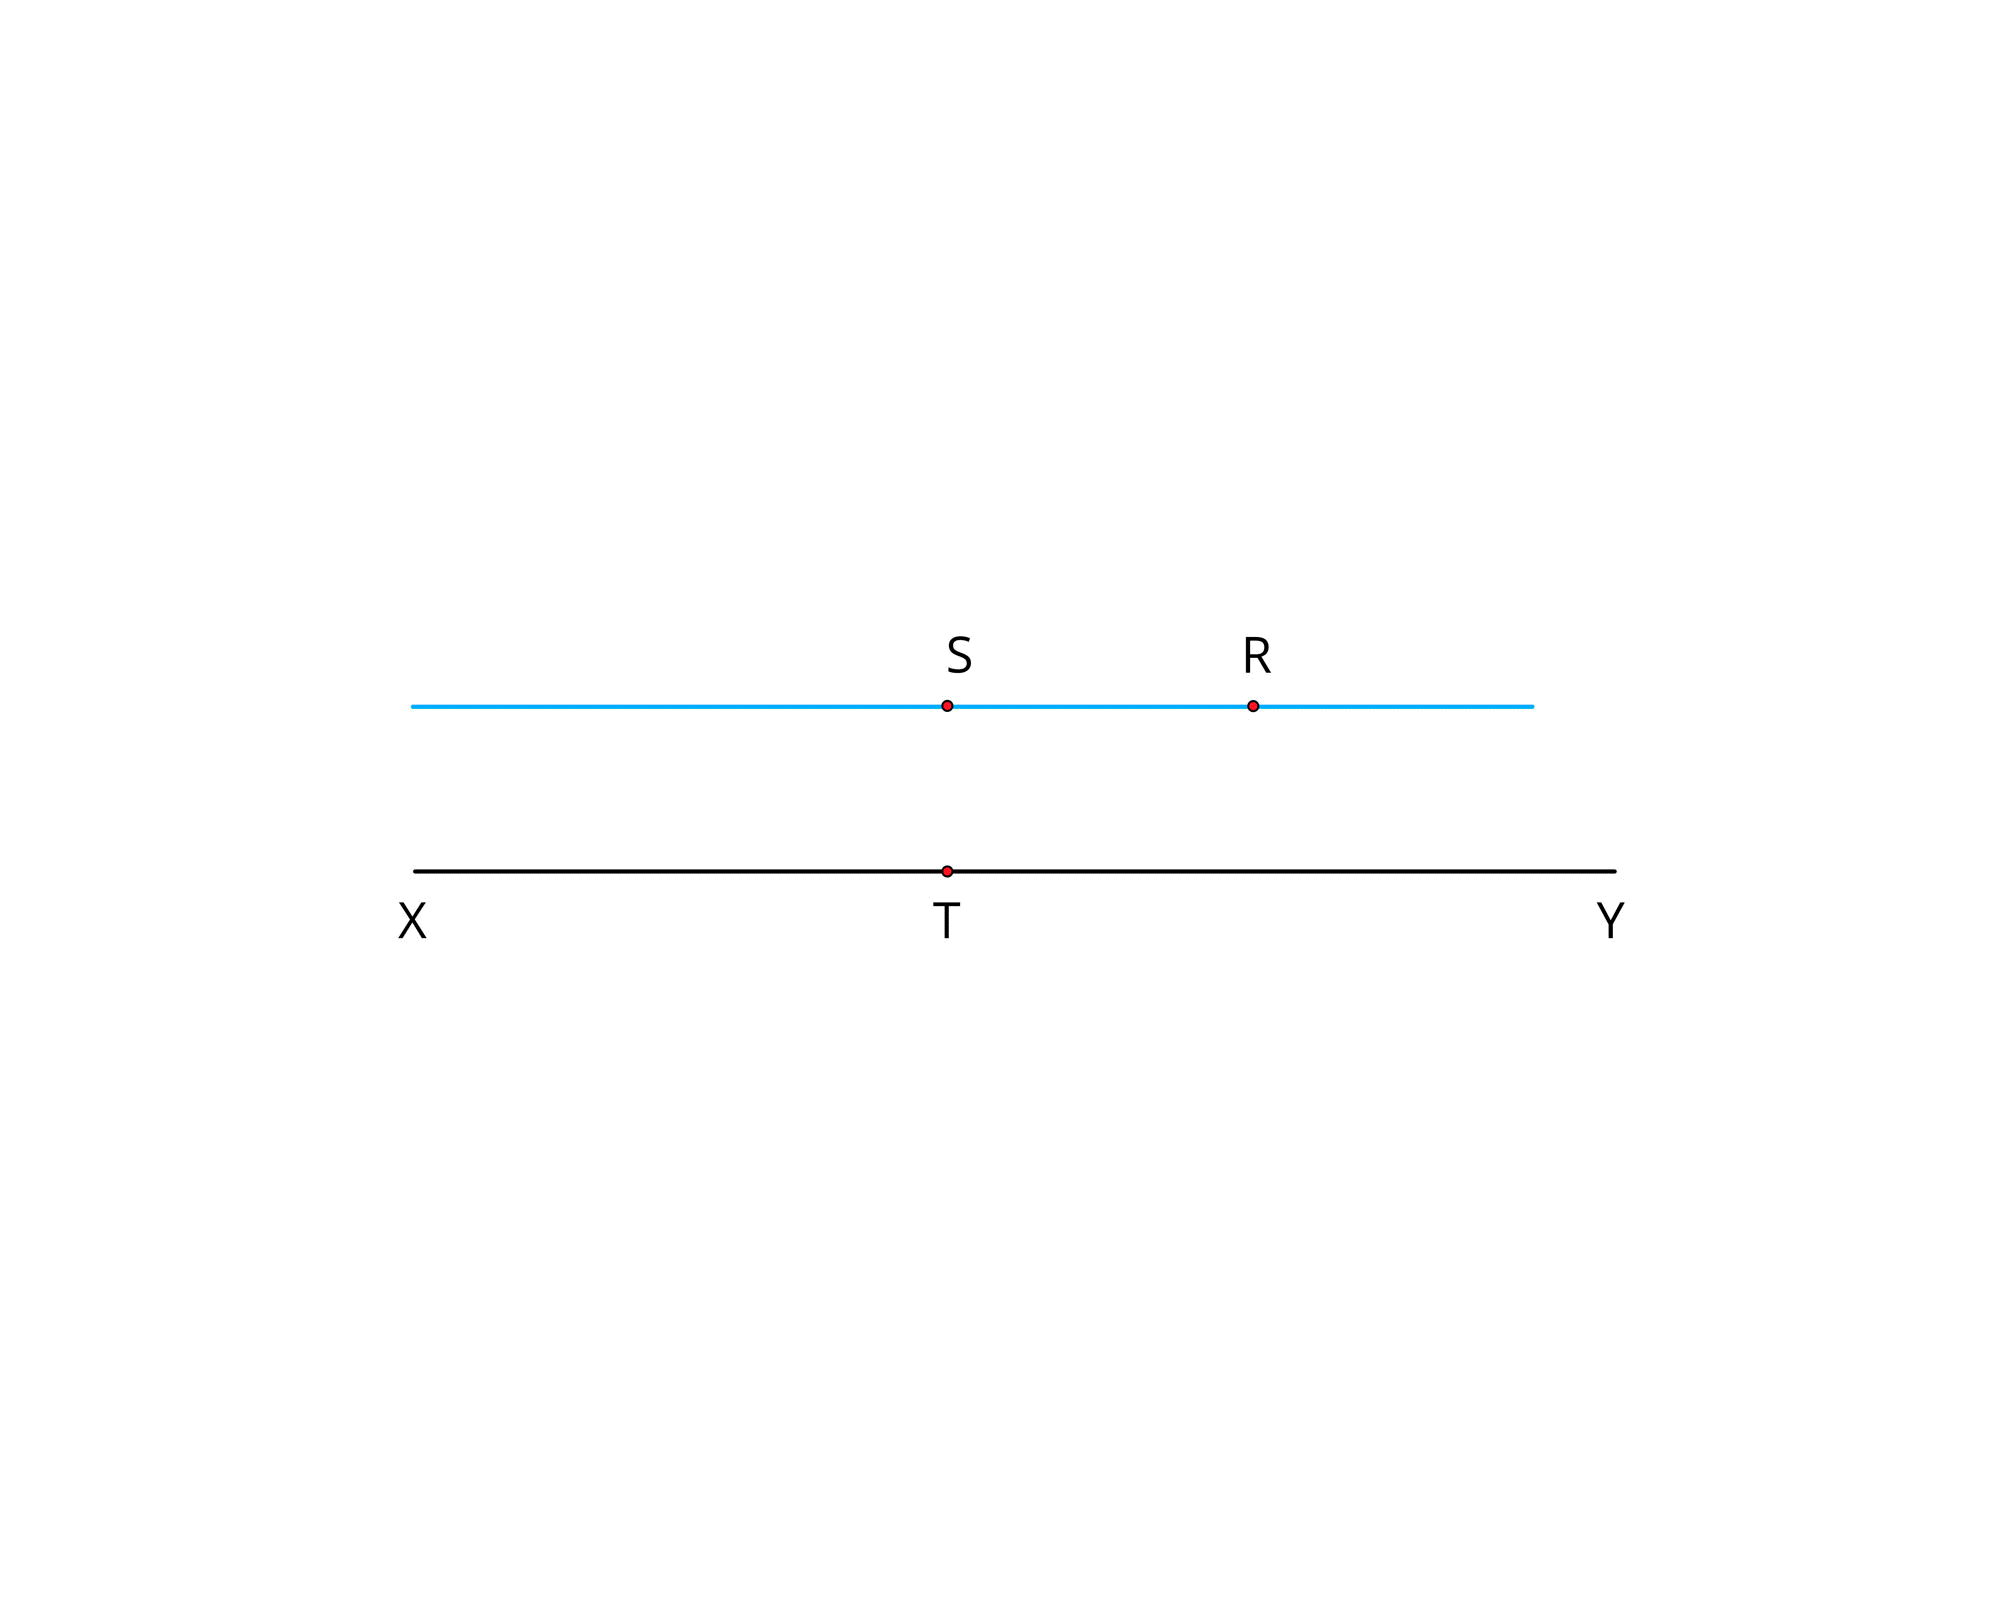
Draw a line and mark a point S at a distance of 3.6 cm above the line. Through S draw a line parallel to the given line.
Step 1: Draw a line XY.
Step 2: Mark a point T anywhere on the line XY.
Step 3: Place the set square in such a way that the vertex of the right angle coincides with T and one of the edges of right angle lies along XY. Mark the point S such that ST = 3.6 cm.
Step 5: Now draw a line through S and extend it to R using set square.
Step 6: The line SR is parallel to the line XY. That is, SR \parallel XY.
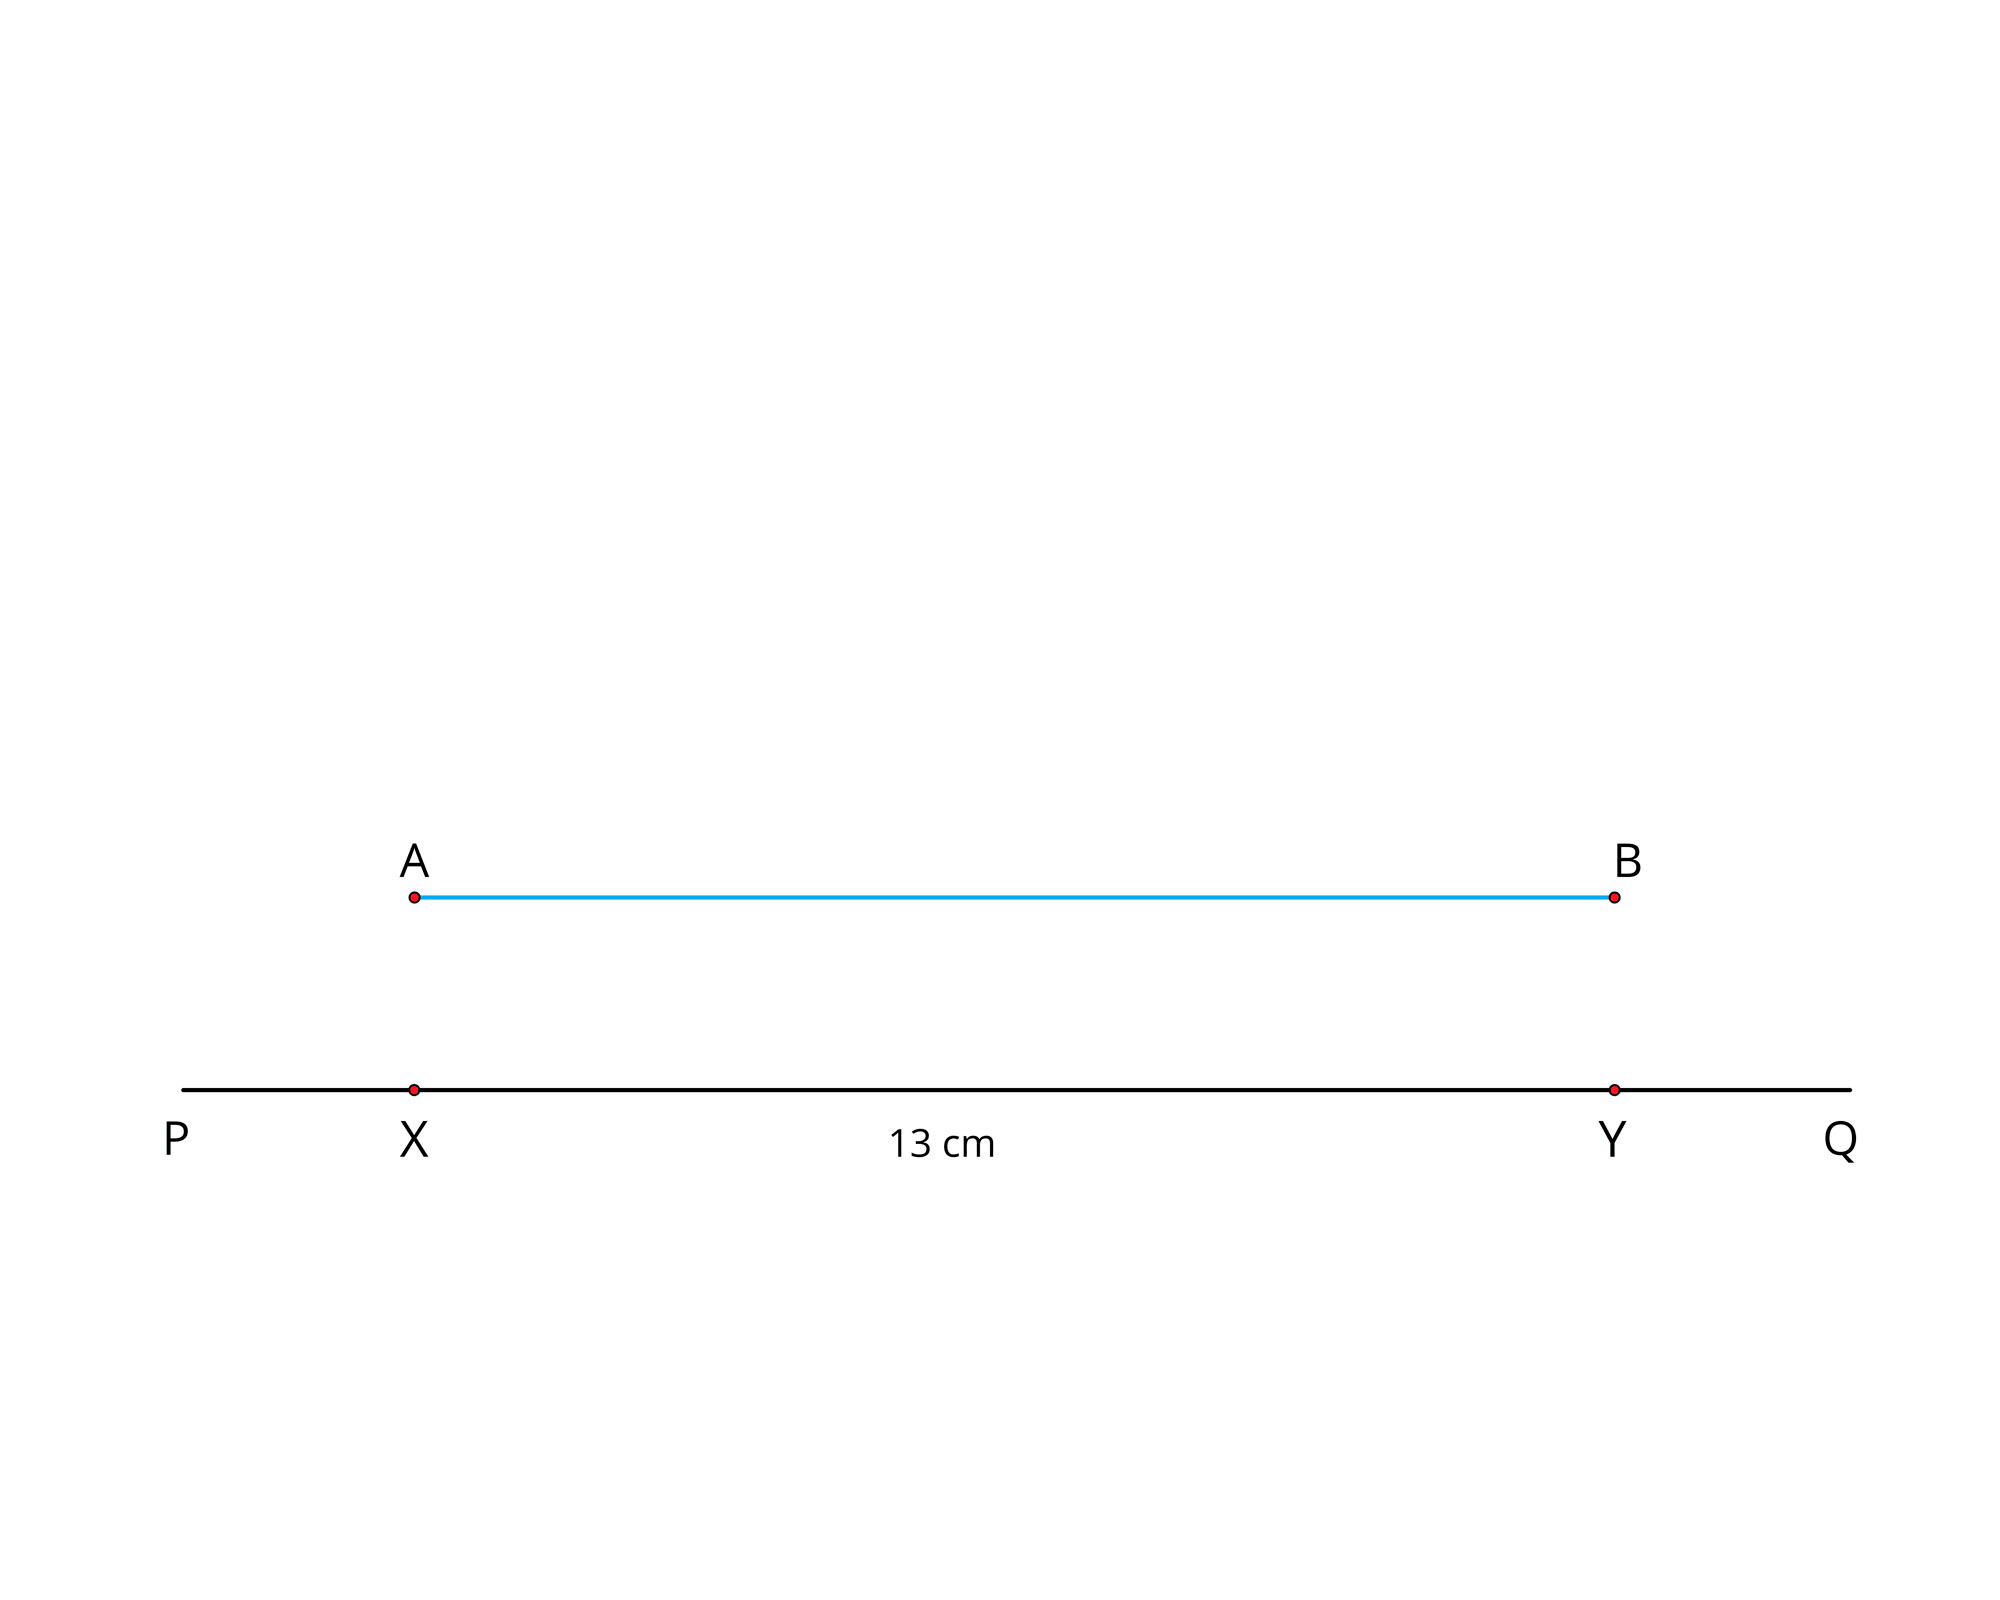
Draw a line segment PQ = 13 cm. Mark two points A, B at a distance of 4 cm above the line segment PQ. Through A and B draw a line parallel to PQ.
Step 1: Draw a line segment PQ =13 cm.
Step 2: Mark two points X and Y on the line segment.
Step 3: Place the set square above the line XYin such a way that one of the arms that form a right angle lies along XY and coincide with the point A. Measure the length of 4 cm along the another arm and mark it as A.
Step 4: Now move the set square along the line XY until its vertex point coincide with Y.
Step 5: Now draw a line through P and extend it to Q. Again, measure the length of 4 cm along the another arm and mark that as B. Now joint the points A and B by drawing the line.
Step 6: The line AB is parallel to the line PQ. That is, AB \parallel PQ.
 Register for free to see more content